I was offered a children's table and chairs from a family friend - Thanks Sharon Hedman!! It had been painted several times and handed down through several kiddos, but, it's in salvable shape, and I knew my two boys sure would like their own little space - to have lunch on, to color on, etc. Well, I had immediately planned on doing something with it right away, but things with work over the holidays got SuPeR busy and allowed me no time in doing so. BUT I'm glad that I didn't JUST paint it like I was going to. I had been cruising Pinterest, and started seeing DIY stains that people were pinning - making the wood look old and rustic - LOVE!! So I had this vision in my head that this table and chairs would be so perfect all rustic looking. After my computer with kaputz for a couple of days, I figured that I finally had time to start working on my project! I was so excited. I researched what I needed to start, went and got everything! Here it goes!!

To start, I needed a Mason Jar, Apple Cider Vinegar, and #0000 Grade Steel Wool.
Simply put the steel wool inside the mason jar and cover it up in the vinegar. Let it set for at least overnight (I let it set for about 72 hours, and I'll tell you why soon).

Ew. It looks gross.

Time to go outside to strip my table with this (hubby told me that I should use an old paint brush).

Here's the table. Cute right??

The stripper works QUICK!

Oh boy... this is going to be a little more work than I thought!!

Finally able to sand down to bare wood after a couple of stripping treatments. End of Day 1.

So, I was planning on coming out the next morning and finishing my project... WRONG! I got sick the next day and couldn't barely move!! LAAME. But that's ok, I had my computer back up and running and there was a lot of work that needed to be done. Here we are, just about 72 hours after making the stain. This is how dark it is when you shake the jar up. (If you read other DIY tutorials about the steel wool completely dissolving... I have no idea what they are talking about. Mine is still perfectly in tact).

About 5 minutes after putting on the stain - it starts reacting with the wood! So cool to watch it change before your very eyes!! (I applied in one direction - going against the wood grain).

Mommy caught the boys being boys while the stain dried... teehee.

Ok... NOT the color I was wanting :-/ this is WAY too cherry wood for me... LAAAAAAMEEEE.

"WAIT!! Didn't I see something on Pinterest about condensed tea helping the chemical reaction - making the gray come out in the wood??" Into the kitchen I went to boil 2 Lipton tea bags in a cup of water.

SUCCESS!! PERECT COLOR!!!!!

After seeing it - I wanted it to have some distress to it. But not too much because I want the boys to be able to use coloring books on this table, so I want it to be pretty smooth. I just used a fork to poke some holes....

...a hammer to make a little bit of dents...

...and roughed up the edges a bit.

I put another coat of the tea on top of it to darken up the holes.

Remember how I said that I was going to do the WHOLE table all cute and rustic-looking??? UGH as if!!! There's no way I'm going to be able to strip down this whole table and the chairs without dedicating my life to it!! On goes some primer after bagging and taping off the stained wood. (These legs are sanded pretty smooth of course - just the colored paint isn't all the way off).

I am using this light blue as an undercoat... wait for it... you'll see what I mean... END OF DAY 2

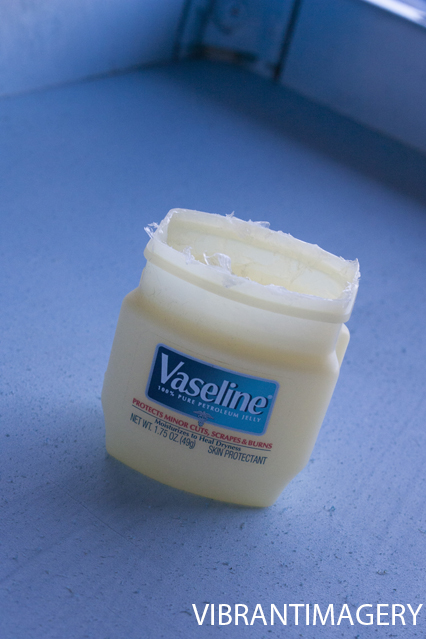
So, I read that if you want that cool shabby-chic rustic look, put Vaseline where ever you want it to chip off.

Like this! I put it on the edges and all around the legs because I wanted it to look really shabby.

Then, I spray painted the table black.

After the table was dried, I started scraping off the areas with the Vaseline.

Time to Poly up! I recommend a couple of coats.

Ta Da!!! All Finished! Stay tuned for the chairs!


